



Can You Build a Curved Arbor?
Yes, you can build a curved arbor. The most practical method for a wood arbor involves mitering 2×6 boards at 22.5-degree angles, joining them with pocket screws, then tracing and cutting the curve with a jigsaw. A budget-friendly alternative uses flexible metal cattle panels bent into an arch and secured with zip ties.
A curved garden arbor turns a plain yard entrance into something worth stopping for. A professional can help you choose the best design and construction method to create a curved arbor that fits your landscape and budget.
What Is a Garden Arbor & Why Should You Build One?
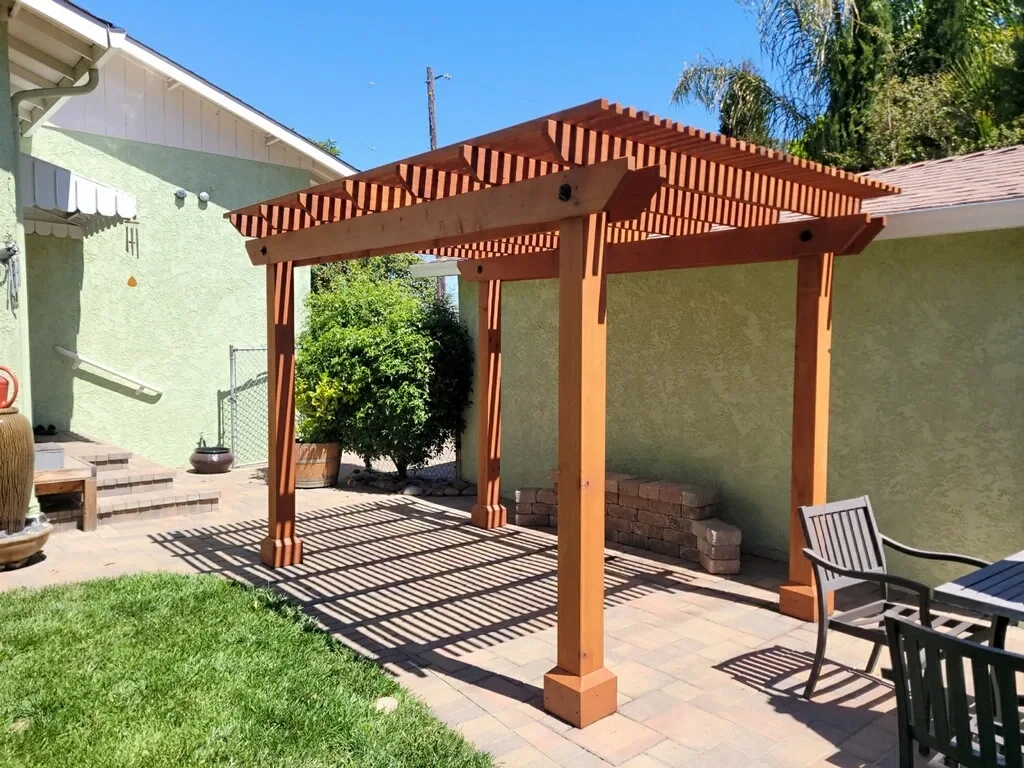
A garden arbor is a freestanding archway made from wood, metal, or a combination of both. It typically spans a path, gate, or garden entrance and supports climbing plants such as vines, roses, and flowering annuals.
It creates vertical growing space, draws the eye through a garden, and adds a clear sense of structure to your yard. Installed over a gate or between raised beds, it serves as a natural divider without closing off your space as a solid fence would.
Comparing trellis ideas to fences and screens can help you decide which structure best suits your landscaping goals and available space.
How Do You Choose the Right Wood for a Garden Arch Trellis?
Wood choice determines how long your arbor stands before rot, insects, or warping become a problem. Since your structure will sit outdoors year-round, this decision matters as much as any step in the build.
Here are the most reliable options:
Cedar
The most popular choice for DIY garden arbors. Cedar contains natural oils that resist rot and insects without chemical treatment. You can leave it unstained for a rustic look, or apply a stain to extend its life.
Redwood
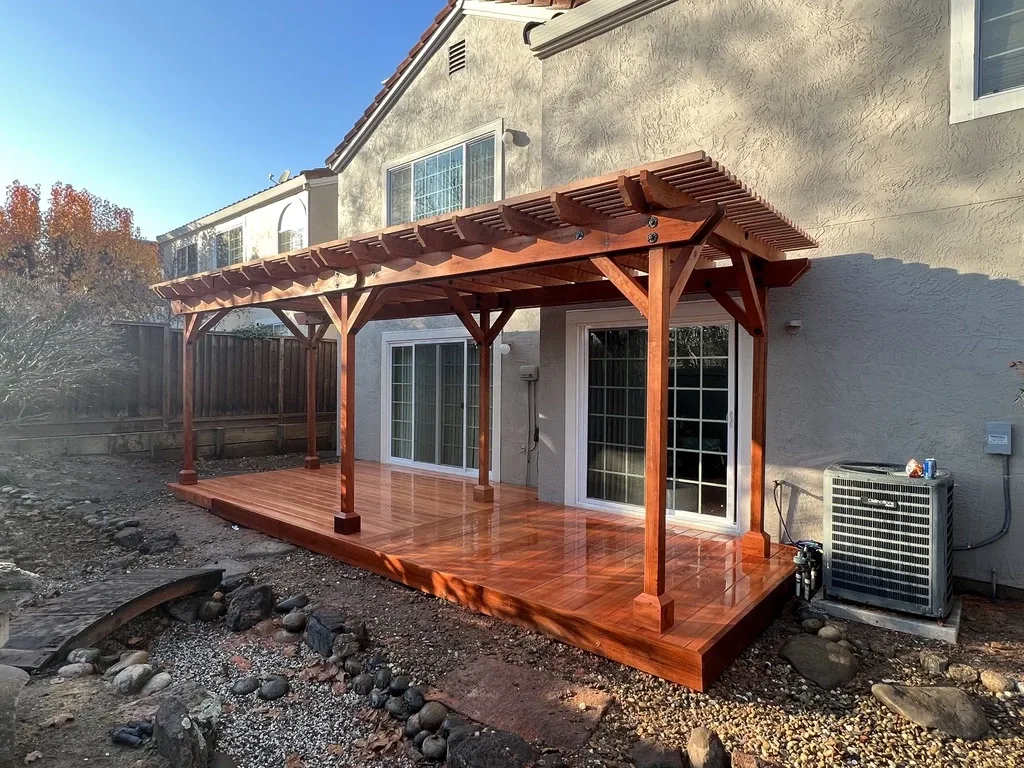
Strong, stable, and naturally durable. Redwood handles high moisture and heavy vines like squash or climbing roses without cracking or warping. It costs more than cedar but holds up for decades.
If your arbor will connect to an existing fence, knowing the different types of fencing materials helps you choose compatible fasteners and installation methods.
Pressure Treated Lumber
Budget-friendly and chemical-resistant. Pressure-treated wood handles outdoor weather and soil contact well, but use caution if your arbor sits directly over a food garden, since some gardeners prefer to avoid treated lumber near edible crops.
How Do You Plan Your Arbor Design & Cut List?
Before you buy a single board, sketch your arbor design and write out a cut list. This prevents wasted material and keeps the project on track.
A standard wood garden arch with two side panels and a curved top uses the following cut list:
Per side panel (×2):
- 2 × eight-foot 4″×4″ posts
- 1 × 2′×4′ lattice panel
- 3 × two-foot 2″×4″ braces
- 4 × four-foot 1″×1″ trim strips
For the arch top:
- 10 × two-foot 2″×6″ boards (mitered at 22.5 degrees)
- 7 × 28-inch 2″×2″ crosspieces
For assembly and finishing:
- Pocket screws and exterior screws
- Quick-set concrete (for setting posts)
- Wood stain or Thompson’s Water Seal
Having a complete cut list before you walk into the lumberyard saves both time and money. If you prefer a faster, cheaper option, a pair of cattle panels (approximately $30 each) and metal T-posts can replace the wood arch entirely.
Method 1: Wood Garden Arch (More Durable)
Step 1: Build the side panels
Cut 8-inch notches at 90 degrees into the top of all four 4×4 posts, halfway through the post. This notch is where the arch will rest. Attach the three 2×4 braces across each pair of posts using pocket screws, one at the top, one 14 inches below, and the third four feet below that. Sandwich the lattice panel between pairs of 1×1 trim strips, then nail them into place.
Step 2: Build the curved arch top
Miter both ends of six 2×6 boards at 22.5 degrees, and miter only one end on the remaining four boards. Join these boards into two identical arch frames using pocket screws, with the single-mitered boards on each end.
Once assembled, trace a smooth curve across the outer face of each frame using a piece of wood as a guide, then cut along the line with a jigsaw. Sand the edges flat. Space and screw the seven 2×2 crosspieces evenly between the two arch frames to complete the top section.
Step 3: Set your posts and assemble
Dig four holes at your planned location. Set the side panels into position, attach the curved arch top to the posts using long exterior screws, then pour concrete into each hole around the posts. Check that everything is level and square before the concrete sets.
Once cured, cut 1×4 trim pieces to wrap and cover the connection points where the arch meets the posts. Apply a wood stain or water-seal product to all surfaces to protect against moisture.
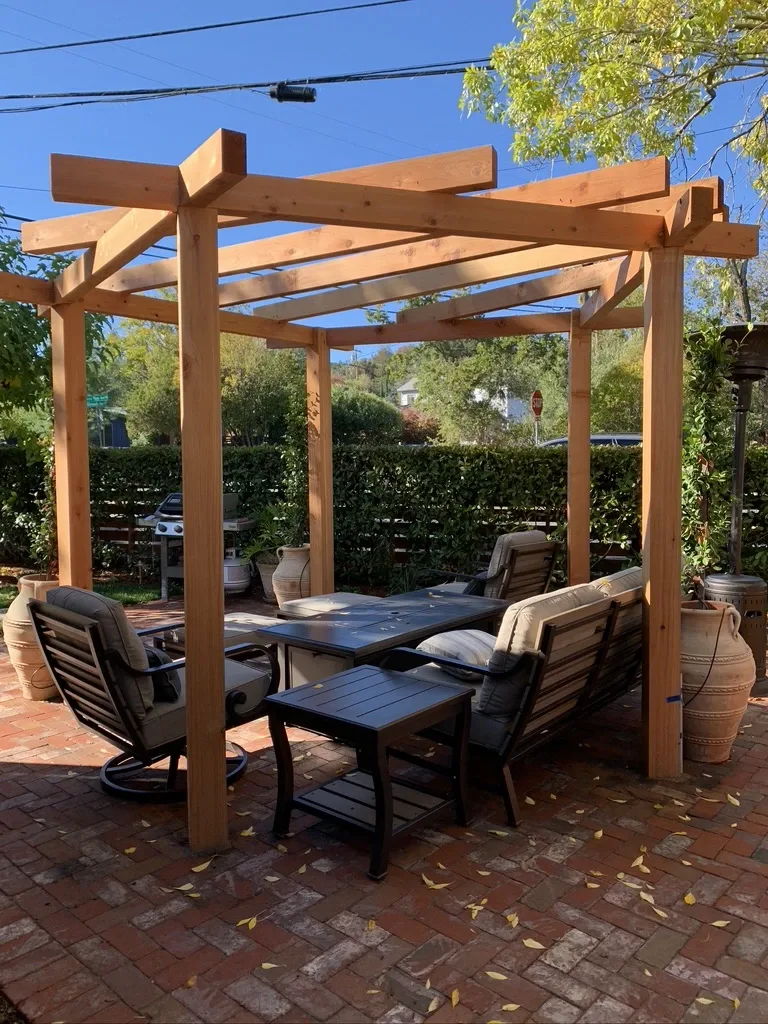
Method 2: Cattle Panel Arch (Faster, Budget-Friendly)
For a garden arch trellis that costs around $30-$35, cattle panels offer a flexible, DIY-friendly alternative.
- Drive the first T-post into the ground with the notches facing inward, at one edge of your planned archway.
- Place one short end of the cattle panel against the base of the T-post.
- Bend the panel over your head into an arch, then press the opposite end into the ground to your preferred width. Adjust until the height and shape work for your space.
- Drive the second T-post on the opposite side, with notches facing the panel.
- Secure the panel to both T-posts using at least five or six zip ties per post, running each zip tie around the post and through the panel grid.
This method works especially well over raised beds, where the extra elevation brings the arch height up another foot. Plants like pole beans, cucumbers, and winter squash grow well on cattle panel structures.
Gardens on sloped properties often pair arbors with wooden retaining walls to create level planting areas and improve the overall landscape design.
Start Your Garden Arch Project with FCR Fence & Deck
Building a curved garden arbor is a real project. One that takes planning, the right materials, and attention to detail at every step. If you want a garden arch installed correctly the first time, FCR Fence & Deck builds custom outdoor structures, including arbors, trellises, fences, and decks, for homeowners in Martinez, Alamo, Danville, Moraga, and Walnut Creek. Contact us today.
Frequently Asked Questions
Q1. Can beginners build a curved arbor?
A: Yes. A cattle panel arch is the easiest option for beginners. A wooden curved arbor requires basic tools, careful measuring, and patience.
Q2. What wood is best for a garden arbor?
A: Cedar and redwood are the best choices for durability. Cypress is also reliable, while untreated pine is not recommended.
Q3. How deep should arbor posts be?
A: Set posts at least 24 inches deep in concrete. Use 30–36 inches for taller arbors or windy locations.
Q4. Can an arbor support heavy vines?
A: Yes. A sturdy wood or cattle panel arbor supports heavy vines. Use slings to support large fruits if needed.
Q5. Should you stain an arbor before installation?
A: Yes. Seal or stain the wood before installation, then apply a second coat after assembly for lasting protection.